RouterOS is the operating system on which MikroTik equipment runs. RouterOS can also be installed on a server and turn it into a router with all the necessary functions - routing, firewall, bandwidth management, wireless access point, backhaul, access point gateway, VPN server and much more.
For example, we will use a virtual server of the VPS-N 1 tariff plan, with Ubuntu 20.04 installed on the server. It is not always possible to deploy the Cloud Hosted Router image on other operating systems, so we recommend using Ubuntu 20.04.
We connect to the VPS via ssh (if your computer is running OS Windows, use, for example, PuTTy, if MacOS, then the usual pre-installed Terminal will do), then execute the following commands:
- $ sudo apt update && apt upgrade
(with this command we update the package index in the Linux system or package lists and update the packages themselves, we also update security)
- $ apt install unzip
(unzip is a utility that helps you unzip files and folders, the utility may already be installed)
It is necessary to fix the network settings that we will need later using the commands:
- $ ip -c a
(we are interested in the IP address and network mask) - $ ip -c r
(gateway IP address)
Next, go to the downloads page of the MikroTik website and copy the link to the latest stable version of the RAW image in the Cloud Hosted Router section to the clipboard.
Using this link, download the RAW image to your server. We do this in the /tmp directory:
- $ cd /tmp
- $ wget https://download.mikrotik.com/routeros/7.16.1/chr-7.16.1.img.zip
Loading the image takes a few seconds. Next, unpack the archive with the image:
- $ unzip chr-7.16.1.img.zip
- $ fdisk -l
(we find out the disk name on our server)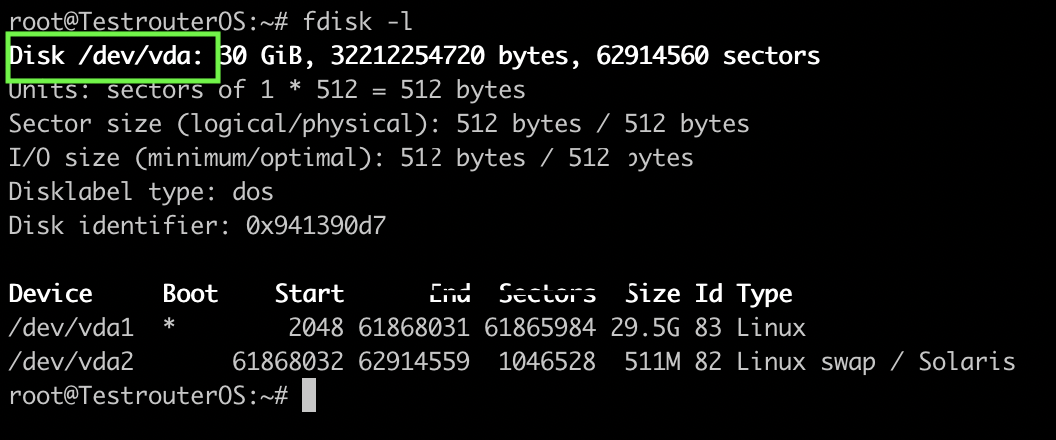
- $ echo u > /proc/sysrq-trigger
(transfer file systems to read-only mode) - $ dd if=chr-7.16.1.img of=/dev/vda bs=4M oflag=sync
(write the unpacked image to disk /dev/vda)
Reboot the server:
- $ echo 1 > /proc/sys/kernel/sysrq
- $ echo b > /proc/sysrq-trigger
After this, the server will no longer be available for remote connection via ssh since the server is loaded from Cloud Hosted Router and the system does not yet have the necessary network settings. To perform the initial setup, connect to the server via VNC (we recommend using VNC Viewer). We take connection data from the control panel https://dci.myhosti.pro in the VNC section
Initial setup of RouterOS:
When logging in, use the username: admin
Leave the password blank and press Enter.
When asked to view the software license, answer Y or n (yes or no)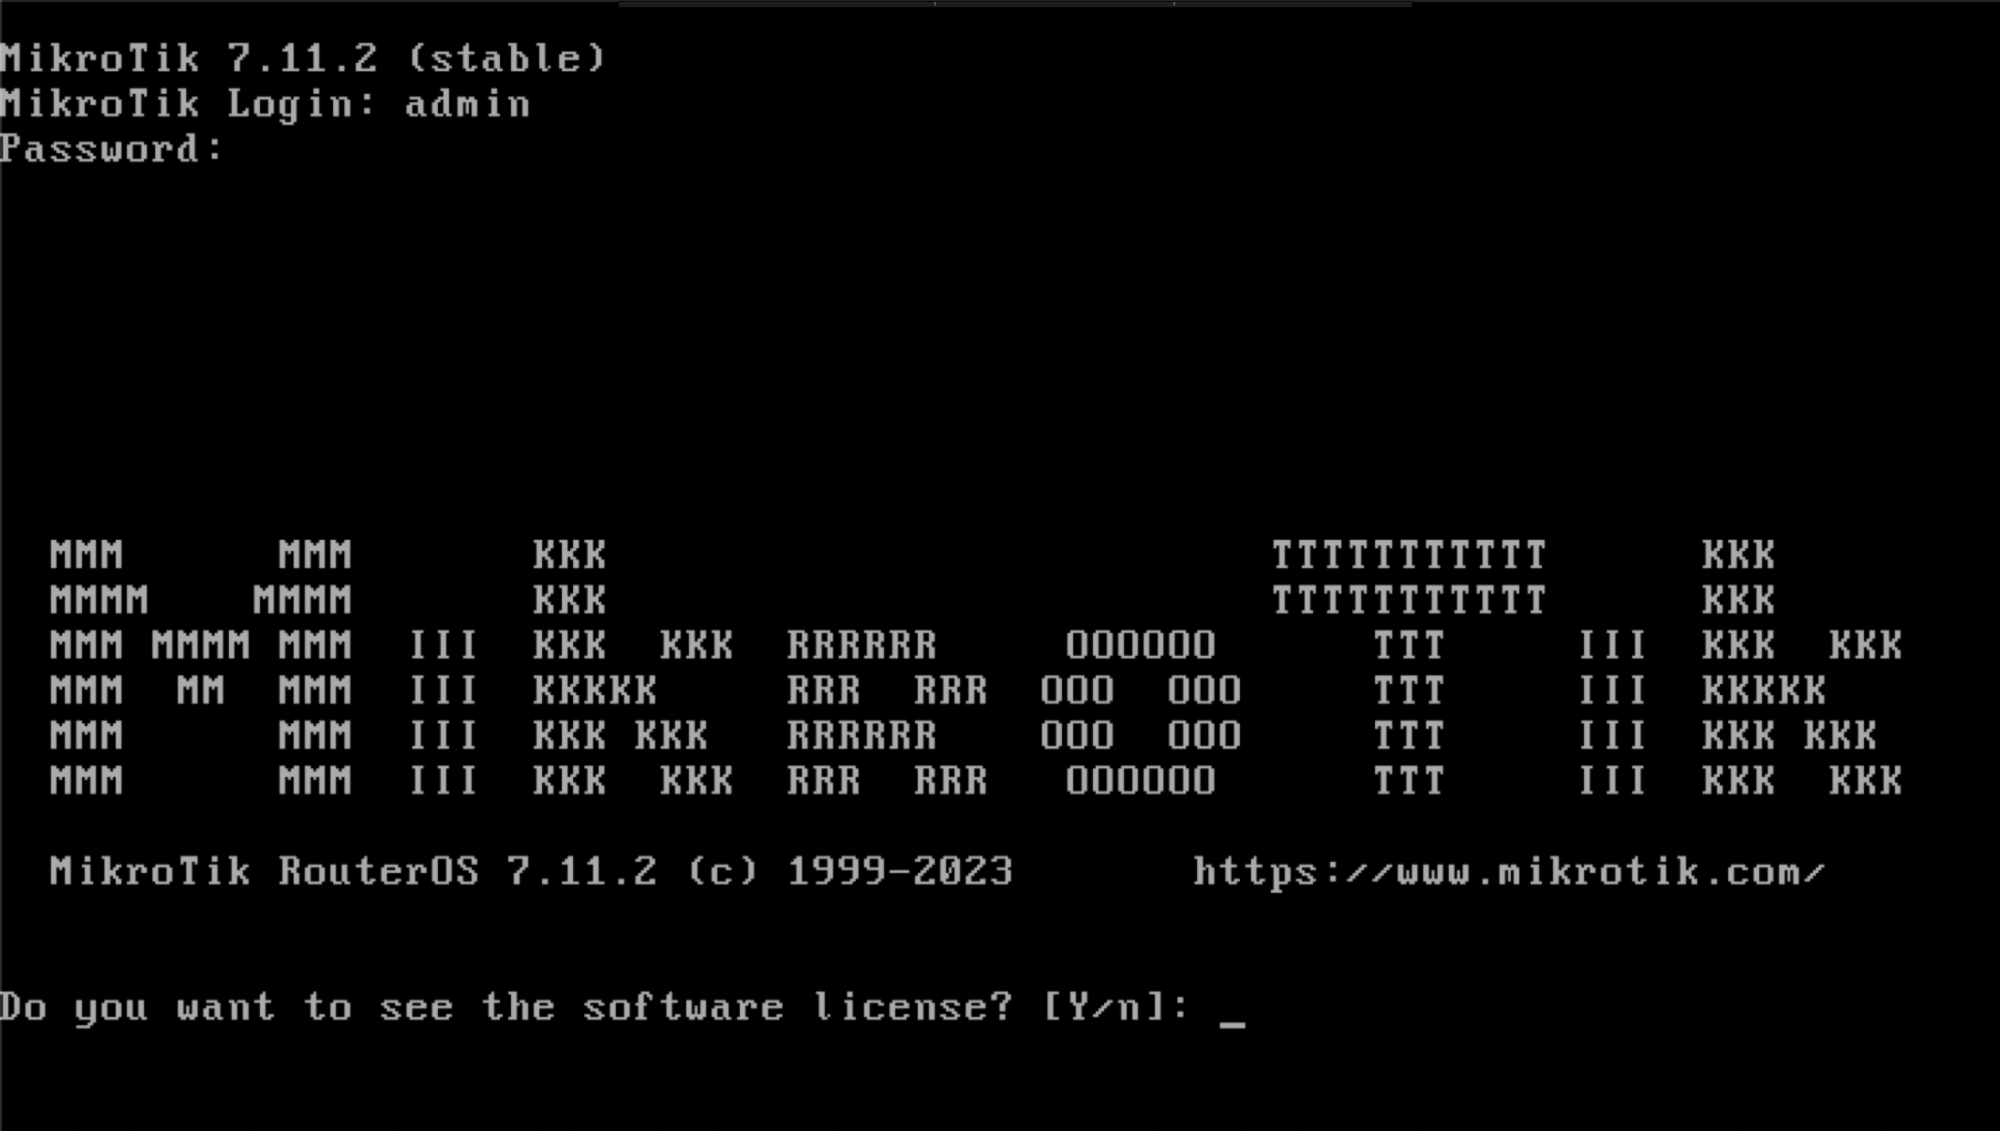
Set a new password for the admin user
After this, the command line will become available and you can run the following commands:
- $ ip/address/add address=xxx.xxx.xxx.xxx/xx
(indicate the address of our server in the format xxx.xxx.xxx.xxx/xx) - $ interface: ether1
(specified interface name) - $ ip/route/add gateway=xxx.xxx.xxx.xxx
(specify the gateway IP address)
After this, you can proceed to configuration in the web interface; to do this, enter the IP that you configured above in the browser.
Share: